Features / Jobs
Jobs.
The Jobs area is where you manage the clients you work for and the jobs you bill against - from first contact through final invoice.
Clients
#/clients
The Clients screen shows every account on record with their contact details, job count, year-to-date billed amount, and current outstanding balance.
View your client list
- Navigate to Clients in the sidebar.
- The table loads with columns for Client, Contact, Phone, Rate, Jobs, Billed (YTD), and Outstanding.
- Click any column header to sort by that field. The list defaults to alphabetical by client name.
- Clients with an unpaid balance show the outstanding amount in red under the Outstanding column.
Add a new client
- Click the New client button in the upper right of the screen.
- A dialog opens. Fill in the fields:
- Client name (required)
- City (e.g. Portland, OR)
- Contact - the person's name at that account
- Phone
- Address (optional)
- Default rate - the hourly billing rate for this client, in dollars
- Notes (optional)
- Click Create. The client appears in the table immediately.
Edit a client
- Click any row in the client table to open that client's dialog.
- Update any field.
- Click Save.
Delete a client
- Click the client's row to open the dialog.
- Click the Delete button (bottom left of the dialog).
- A confirmation prompt appears. Click Delete again to confirm.
- The client is removed and the table refreshes.
All jobs
#/jobs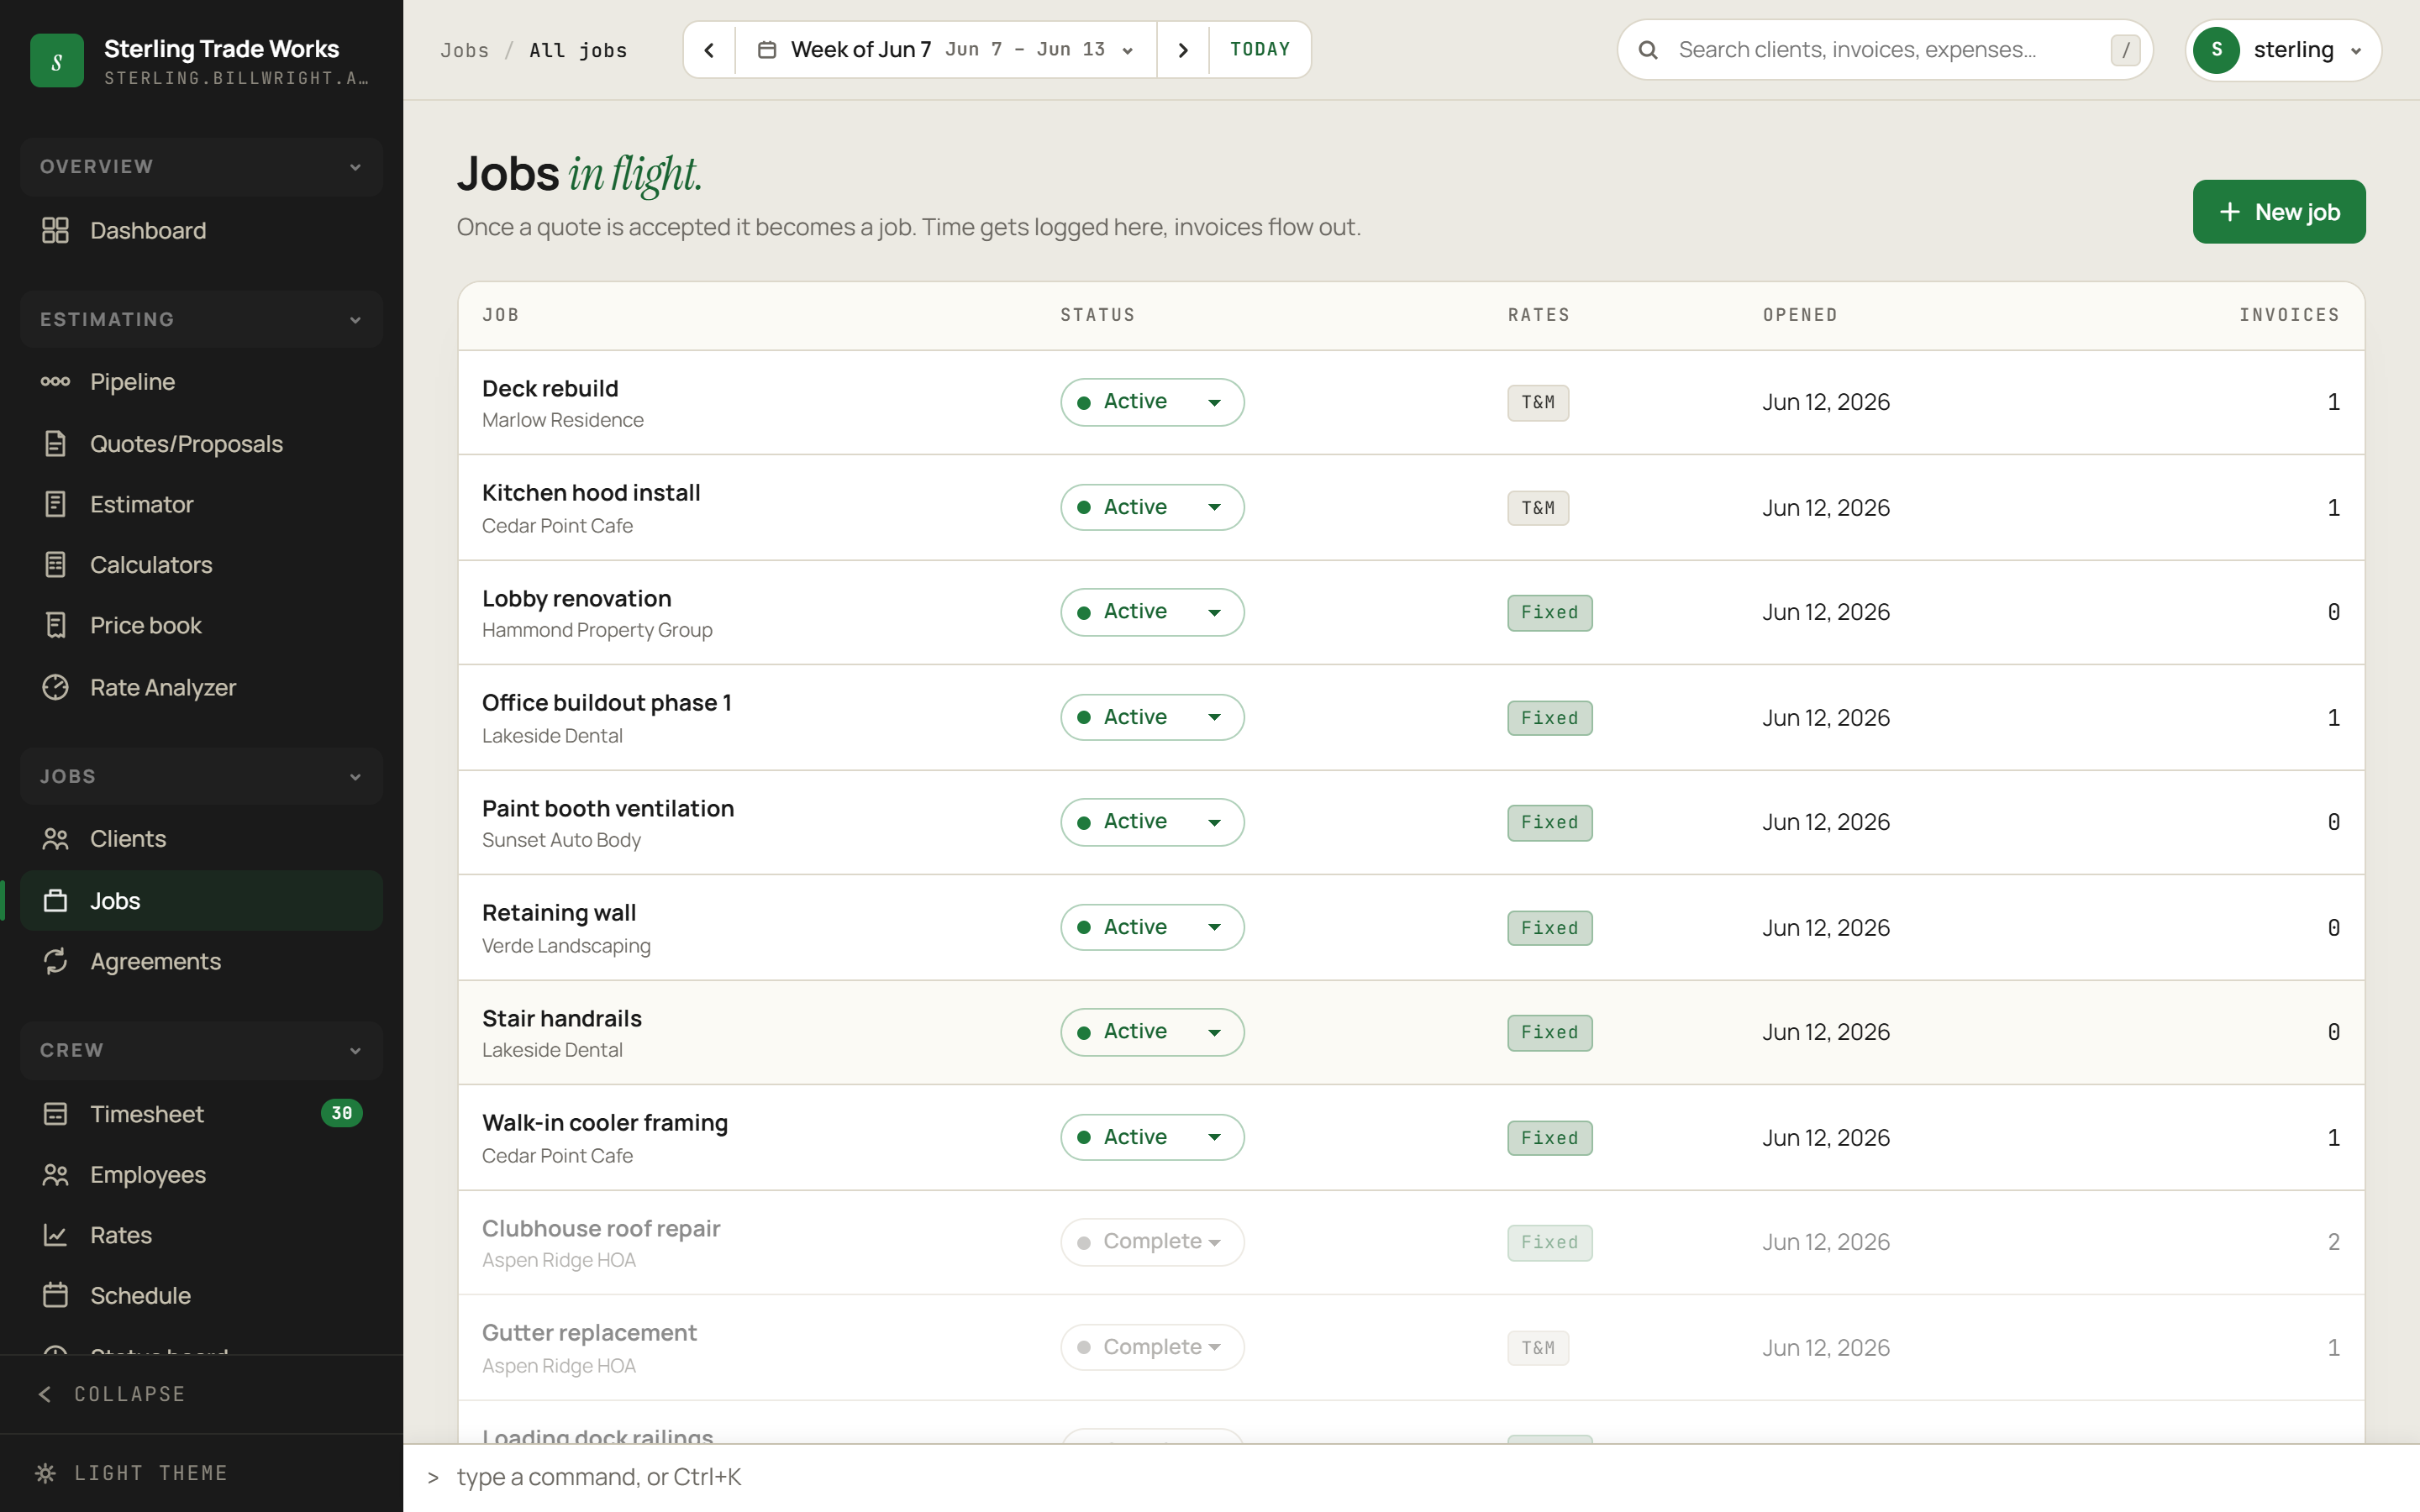
The Jobs screen lists every job in the system. Active jobs appear at the top in alphabetical order; completed jobs sink to the bottom. Each row shows the job name, linked client, billing type (Fixed or T&M), the date the job was opened, and how many invoices have been sent against it.
View your jobs
- Navigate to Jobs in the sidebar.
- The table loads all jobs. Active jobs are listed first.
- Click any row to open the full job detail view for that job.
Change a job's status
You can flip a job between Active and Complete directly from the list - no need to open the detail view.
- Locate the job in the table.
- In the Status column, click the dropdown (it shows either "Active" or "Complete").
- Select the new status. The row updates immediately and a confirmation toast appears.
- If the server update fails, the status reverts automatically and an error toast appears.
Create a new job manually
Jobs are usually created automatically when a quote is accepted through the Pipeline. Use the manual path for T&M arrangements or any work that does not start from a quote.
- Click the New job button in the upper right. If no clients exist yet, a toast will prompt you to add a client first. You must have at least one client before creating a job.
- A dialog opens. Fill in the fields:
- Client (required) - pick from the dropdown of existing clients
- Job name - a short descriptive label (up to 120 characters)
- Job reference (optional) - an internal or client-facing reference number or code
- Click Create to save the job.
The Shop bucket
Below the jobs table is a special non-billable time bucket called the Shop (or whatever name you have set for it). Time logged with no job assigned lands here. It is billed at $0/hr and is intended for internal work such as training, equipment maintenance, and shop tasks that are not charged to any client.
To rename the Shop bucket:
- Click the Rename button in the Shop card.
- Enter a new name in the dialog that appears.